Section: 28
Hours: 4
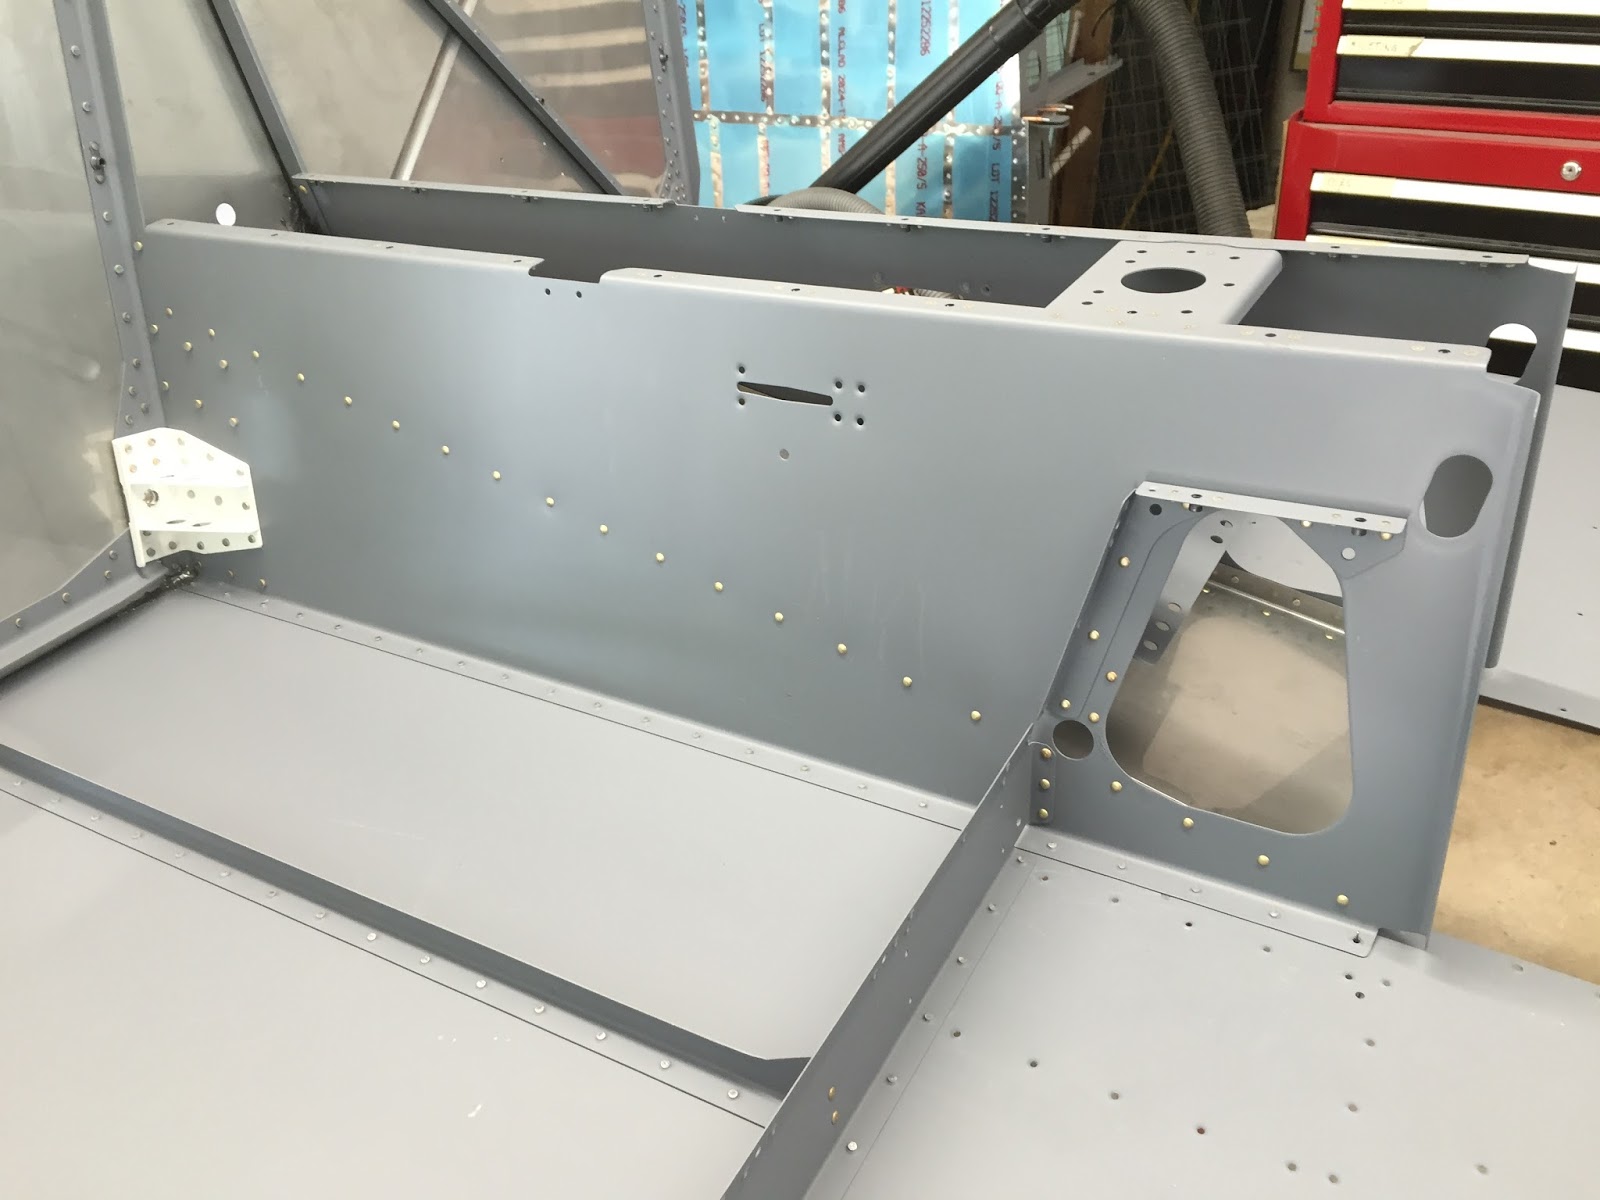
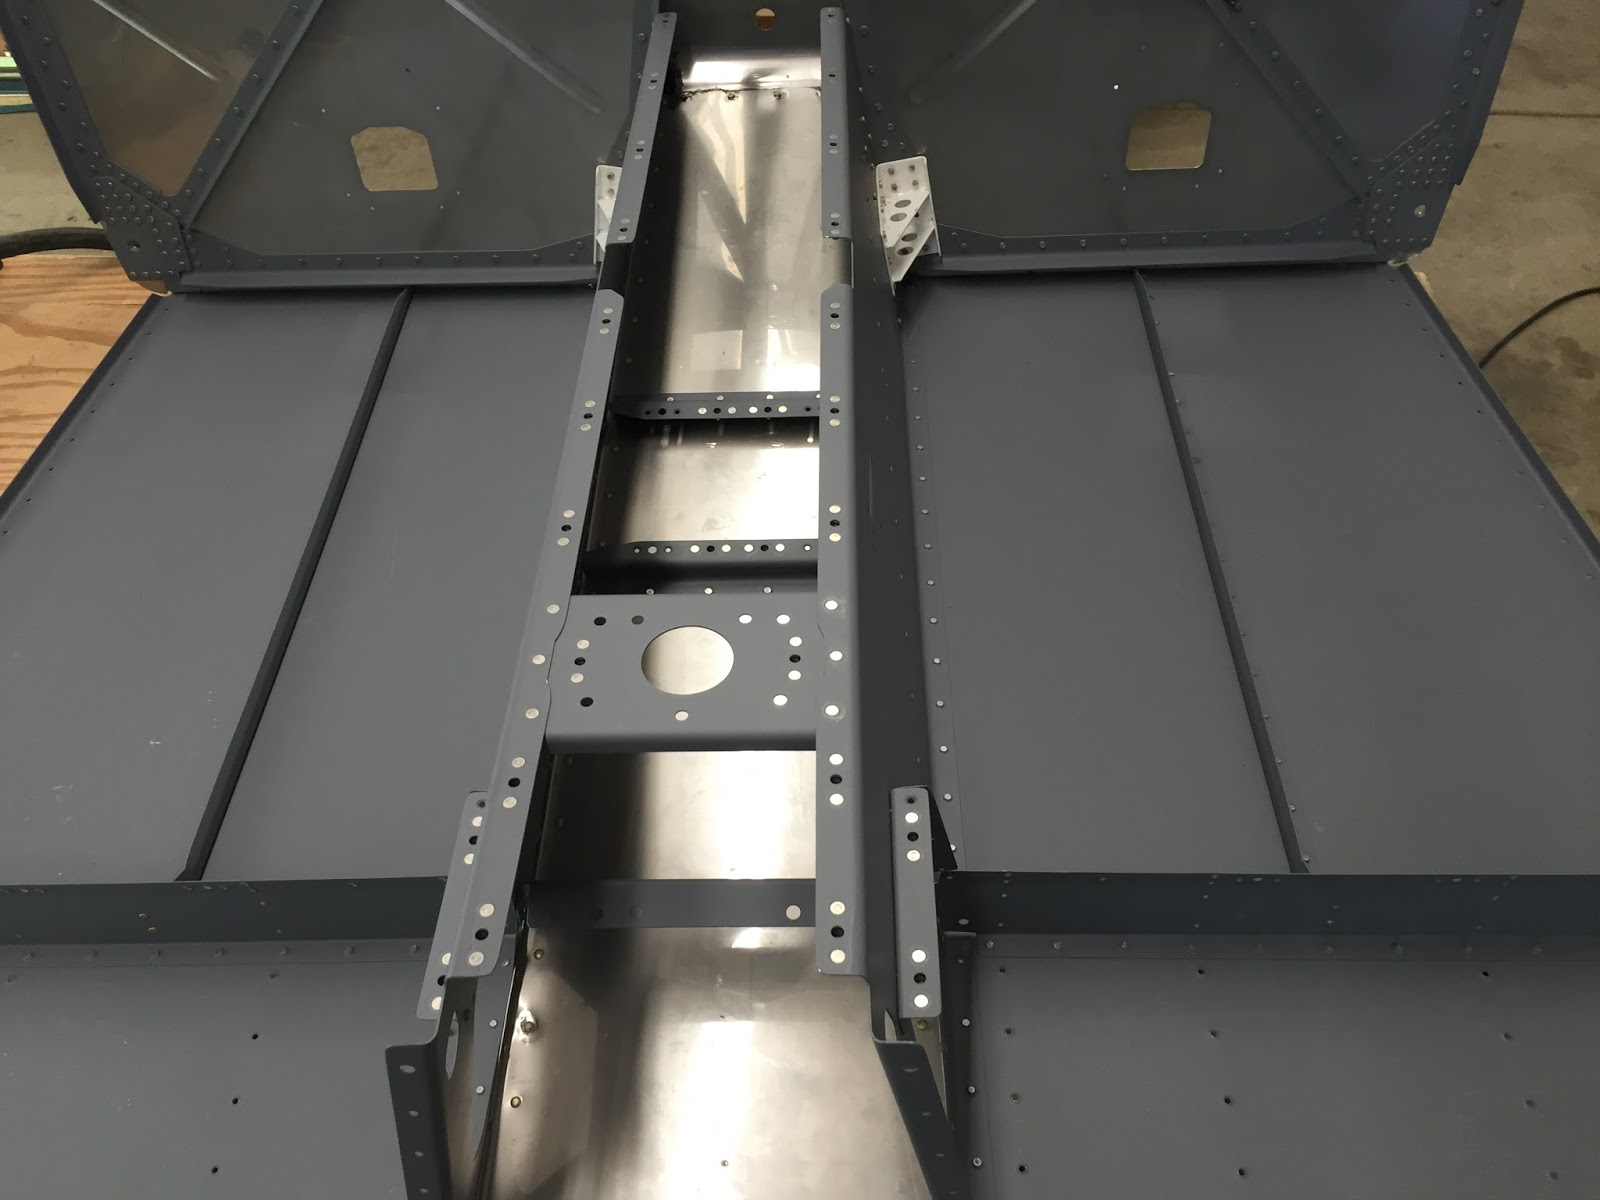
Today I installed the cover panels on the forward center section bulkheads. It's all flush rivets but it was slow going because it was hard to reach inside to position the bucking bar.
I'm now done with chapter 28! Van's just charged my credit card for the finishing kit so it should be arriving a little before I finish up the fuselage kit.
Disclaimer: This blog is to provide others insight into my experience and for my own historical purposes. Airplane construction is a serious affair. I have no authoritative skills relating to airplane construction. As such, any use of the information contained on this blog is at your own risk.
Showing posts with label Section 28. Show all posts
Wednesday, July 13, 2016
Tuesday, July 12, 2016
Section: 28
Hours: 4
More ProSealing today. The firewall penetration fittings must be sealed on the backside of the firewall to keep oil and fumes out.
I had a hard time getting the vent inlet parts assembled correctly- the 3d drawing in the manual just didn't click for me. The parts fit together multiple ways, but only 1 way fits when you put it on the firewall. I had to actually cleco the parts to the firewall before I got it right.
The cable brackets are not mirror imaged around the fuselage center line- both the left and the right sides orient the same way extending over the firewall opening.
The flush rivets for the battery box were a pain to set. After trying several methods, I had success using my small flat faced bucking bar on the factory side of the rivets.
I gingerly used the stubby holder with a flat face in the rivet gun on the forward side. I used 50psi and short bursts to set the rivets. You have to just set the rivet and not over drive it or the thin stainless sheet will pillow.
Here's today's work- all the firewall assemblies are riveted/bolted on. The battery box is painted with flat black Rustoleum out of a spray can. If I were to do it over again I would have it powder coated. The Rustoleum chips easily and probably won't hold up very well in use. We'll see. At least it is easy to touch up.
Hours: 4
More ProSealing today. The firewall penetration fittings must be sealed on the backside of the firewall to keep oil and fumes out.
I had a hard time getting the vent inlet parts assembled correctly- the 3d drawing in the manual just didn't click for me. The parts fit together multiple ways, but only 1 way fits when you put it on the firewall. I had to actually cleco the parts to the firewall before I got it right.
The cable brackets are not mirror imaged around the fuselage center line- both the left and the right sides orient the same way extending over the firewall opening.
The flush rivets for the battery box were a pain to set. After trying several methods, I had success using my small flat faced bucking bar on the factory side of the rivets.
I gingerly used the stubby holder with a flat face in the rivet gun on the forward side. I used 50psi and short bursts to set the rivets. You have to just set the rivet and not over drive it or the thin stainless sheet will pillow.
Here's today's work- all the firewall assemblies are riveted/bolted on. The battery box is painted with flat black Rustoleum out of a spray can. If I were to do it over again I would have it powder coated. The Rustoleum chips easily and probably won't hold up very well in use. We'll see. At least it is easy to touch up.
Monday, July 11, 2016
Section: 28
Hours: 7
I started today by riveting the top of the stainless tunnel to the tunnel outer sides.
The fuel selector valve bracket is not symmetric which I found out the hard way! I riveted it in, discovered I had it backwards and then riveted it in a second time with the proper orientation. Gotta pay attention to the plans...
Here I've mated the forward center section bulkhead to the bottom skins.
The center ribs are bolted and riveted to the spar carry thru. I put the factory heads on the back side because I could not fit the rivet gun in on the other side.
Here's the forward side with the shop heads.
Next I back riveted the bottom rib flanges to the bottom skins.
I used the long back rivet set to reach these rivets. I found it helps if you bump up the air pressure to 45-50psi when using the long back rivet set.
Hours: 7
I started today by riveting the top of the stainless tunnel to the tunnel outer sides.
The fuel selector valve bracket is not symmetric which I found out the hard way! I riveted it in, discovered I had it backwards and then riveted it in a second time with the proper orientation. Gotta pay attention to the plans...
Here I've mated the forward center section bulkhead to the bottom skins.
The center ribs are bolted and riveted to the spar carry thru. I put the factory heads on the back side because I could not fit the rivet gun in on the other side.
Here's the forward side with the shop heads.
Next I back riveted the bottom rib flanges to the bottom skins.
I used the long back rivet set to reach these rivets. I found it helps if you bump up the air pressure to 45-50psi when using the long back rivet set.
Friday, July 8, 2016
Section: 28
Hours: 6
Today I assembled the firewall to the forward bottom skins and exhaust tunnel. The rounded entry from the firewall to the tunnel must be sealed with ProSeal.
Pull rivets are used for the sides, but the top flange is fastened with solid rivets.
The curved intersection has an area that must be sealed on the rear side of the firewall.
Here's the firewall and bottom skin assembly.
Hours: 6
Today I assembled the firewall to the forward bottom skins and exhaust tunnel. The rounded entry from the firewall to the tunnel must be sealed with ProSeal.
Pull rivets are used for the sides, but the top flange is fastened with solid rivets.
The curved intersection has an area that must be sealed on the rear side of the firewall.
Here's the firewall and bottom skin assembly.
Tuesday, July 5, 2016
Section: 28
Hours: 5
Today was another ProSeal messy riveting job. I assembled the forward fuselage bottom skins to the stainless steel exhaust tunnel. The seams must be sealed to keep oil and exhaust fumes from getting into the fuselage. I was able to back rivet the bottom skins.
The stainless steel sheet is very thin and easily deforms if you are not careful.
Hours: 5
Today was another ProSeal messy riveting job. I assembled the forward fuselage bottom skins to the stainless steel exhaust tunnel. The seams must be sealed to keep oil and exhaust fumes from getting into the fuselage. I was able to back rivet the bottom skins.
The stainless steel sheet is very thin and easily deforms if you are not careful.
Friday, July 1, 2016
Section: 28
Hours: 4
Today I primed the section 28 parts. The Stewart Systems EcoPrime shoots much better now that I am thinning it 10%+ with distilled water.
Hours: 4
Today I primed the section 28 parts. The Stewart Systems EcoPrime shoots much better now that I am thinning it 10%+ with distilled water.
Thursday, June 30, 2016
Section: 28
Hours: 4
The battery box has all flush rivets on the inside of the box. It is impossible to use the countersink cage inside the box so I had to use some tricks to fabricate these countersinks. I pulled out my tight fit drill kit which has a couple of bit extension bars and a right angle drive.
Here is the long extension shaft coupled with the counter sink bit in action. I carefully countersank the first hole and then set the drill stop to the depth required for that hole. I was then able to safely countersink most of the rest of the holes.
The holes at the bottom of the battery box are under a bent over lip above so cannot be reached using the extension shaft. I was able to use the right angle drive and took a preliminary cut at the countersinks in that area.
Unfortunately, I wasn't able to fit the head exactly 90 degrees to the surface so the initial cuts were slightly skewed as seen here. I didn't drill full depth so I could finish up the holes by hand.
I took the short shaft extension, wrapped some tape around it for a better grip and then hand finished the countersink holes. Luckily there are not too many holes, but it is time consuming to finish holes this way. You just have to be patient.
Woody inspected the battery box and was amazed that the countersinks could be done so well. He then helped me remove the plastic protective wrap from the bottom skins and we called it a day as the temps had gone over 100 degrees in the garage by then.
Hours: 4
The battery box has all flush rivets on the inside of the box. It is impossible to use the countersink cage inside the box so I had to use some tricks to fabricate these countersinks. I pulled out my tight fit drill kit which has a couple of bit extension bars and a right angle drive.
Here is the long extension shaft coupled with the counter sink bit in action. I carefully countersank the first hole and then set the drill stop to the depth required for that hole. I was then able to safely countersink most of the rest of the holes.
The holes at the bottom of the battery box are under a bent over lip above so cannot be reached using the extension shaft. I was able to use the right angle drive and took a preliminary cut at the countersinks in that area.
Unfortunately, I wasn't able to fit the head exactly 90 degrees to the surface so the initial cuts were slightly skewed as seen here. I didn't drill full depth so I could finish up the holes by hand.
I took the short shaft extension, wrapped some tape around it for a better grip and then hand finished the countersink holes. Luckily there are not too many holes, but it is time consuming to finish holes this way. You just have to be patient.
Woody inspected the battery box and was amazed that the countersinks could be done so well. He then helped me remove the plastic protective wrap from the bottom skins and we called it a day as the temps had gone over 100 degrees in the garage by then.
Wednesday, June 29, 2016
Section: 28
Hours: 4
I finished prepping parts for this section- all but the battery box. I'll save that for tomorrow.
Hours: 4
I finished prepping parts for this section- all but the battery box. I'll save that for tomorrow.
Monday, June 27, 2016
Section: 28
Hours: 5
After a long weekend of visiting with family I'm back at it. Started prepping parts for chapter 28. More edge filing, dimpling, countersinking, etc. We are in the middle of a heat wave, it was 102 degrees in the garage by the time I finished!
Hours: 5
After a long weekend of visiting with family I'm back at it. Started prepping parts for chapter 28. More edge filing, dimpling, countersinking, etc. We are in the middle of a heat wave, it was 102 degrees in the garage by the time I finished!
Subscribe to:
Posts (Atom)